
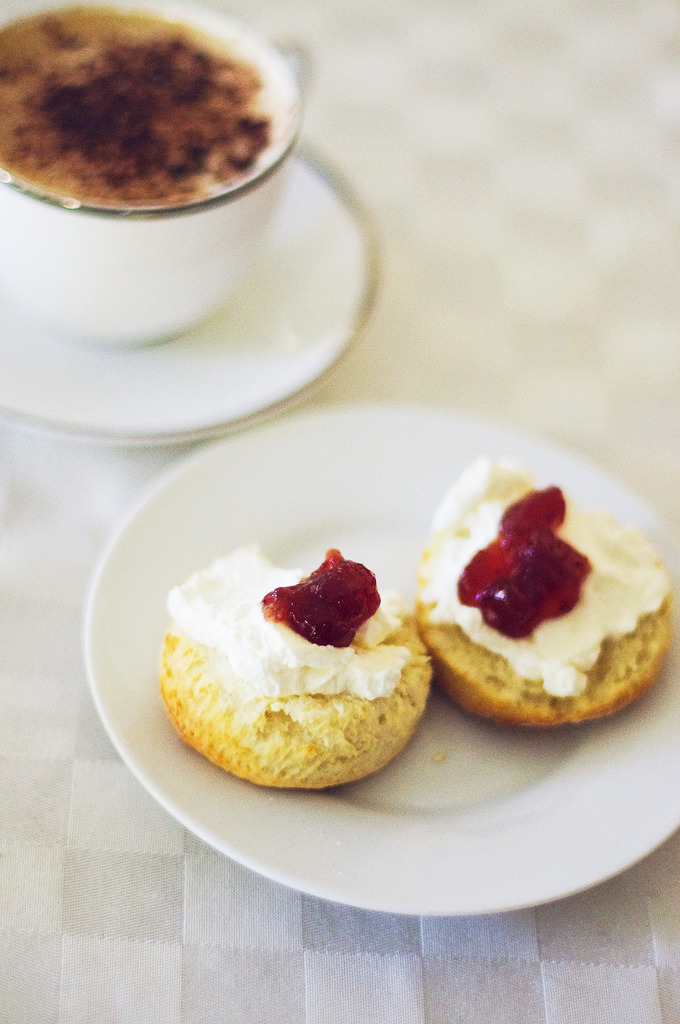
Aren’t mums just an amazing bunch of human beings? I know I rely on mine all too often, so the least anyone can do to say thank you is to cook for them, clean for them… and learn to bake scones when they ask you to, duh. I’m a little late in posting this, but thank goodness scones aren’t exclusively a Mother’s Day treat! My mum’s a tiny bit obsessed with them, so I can’t say I was surprised when she requested it one day. Although, I was pleasantly surprised that they were easier to make than I thought, and tasted even better when fresh out of the oven. Just be prepared to reignite the age old debate of whether the cream or jam goes on first (obviously the cream does, but each to their own)!

Recipe for basic scones adapted from Taste:
|
Ingredients:
3 cups self-raising flour |
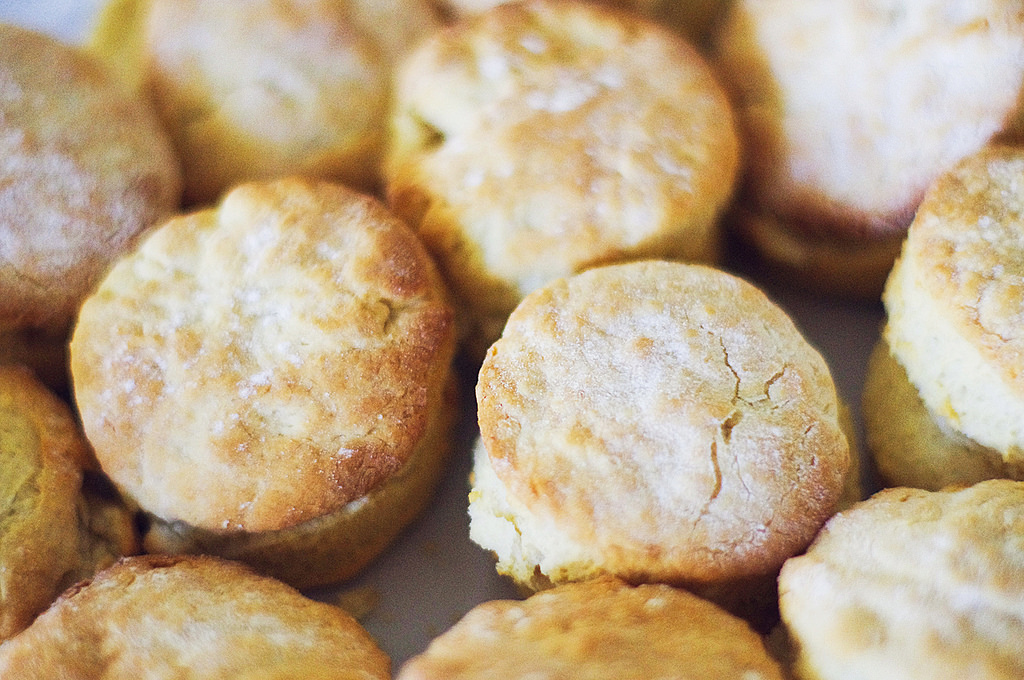
1. Preheat your oven to 220°C (200°C fan-forced). Combine the self-raising flour and caster sugar in a medium bowl. Use your fingertips to rub in the butter until the mixture resembles fine breadcrumbs. To help incorporate air into the mixture, keep the palms of your hands face-up as you lift the flour to rub in the butter.
2. Add the milk all at once, then use a butter knife or spatula to mix together using a cutting motion. Do this until the mixture is evenly incorporated and begins to hold together. Be careful not to over mix though! The dough should be soft but not sticky. If it’s dry, simply add a little more milk, then bring the dough together with your hands. 3. Turn the dough onto a lightly floured surface and knead gently about 4-5 times until the dough is just smooth. Be careful not to overwork the dough, otherwise the gluten in the flour will develop and cause the scones to be tough in texture and heavy. 4. Using a rolling pin, roll out the dough until about 2cm thick. (Alternatively, flatten the dough with the palm of your hand). Use a round 5cm pastry cutter (or any old cup) to cut out the scones. Use a straight-down motion to cut out the scones and try not to twist the cutter, as this will cause the scones to rise unevenly. 5. As you cut out the scones, place them on a lined baking tray about 1cm apart. Sprinkle the tops of the scones with extra flour, then bake for 10-12 minutes or until golden and cooked through. If your scones sound hollow when tapped, they’re ready. Alternatively, insert a skewer into a scone and see if it comes out clean. 6. Remove your scones from the oven and cover with a clean tea towel to keep them warm. Serve warm with jam and whipped or clotted cream. |
You can throw all the chocolate chips and raisins you like at me, but I still think nothing beats plain scones in all their buttery glory! I’m sure the possibilities when it comes to topping these are endless, even though I’m not really adventurous and only ever go for the jam and cream option. Anyway, with these babies under my belt the only thing left for me to master is my own high tea arrangement…