

For some bizarre reason, I really love umbrellas. What is it about them, anyway? Apart from keeping me warm and cosy on wet days, they just have that whimsical factor about them. Maybe I watched Mary Poppins too much as a child… Anyway, I also love that umbrellas are blank canvases that have so much potential for customisation. Sadly I tend to grab the nearest one (usually a freebie) when I’m rushing out the door, but some designs can be so intricate! It was pretty much inevitable that I eventually customise my own. I feel like I’m insulting your intelligence for even writing a tutorial on this, since it’s so simple. All you’ll need is a clear umbrella, white and yellow paint markers, and a looot of patience.

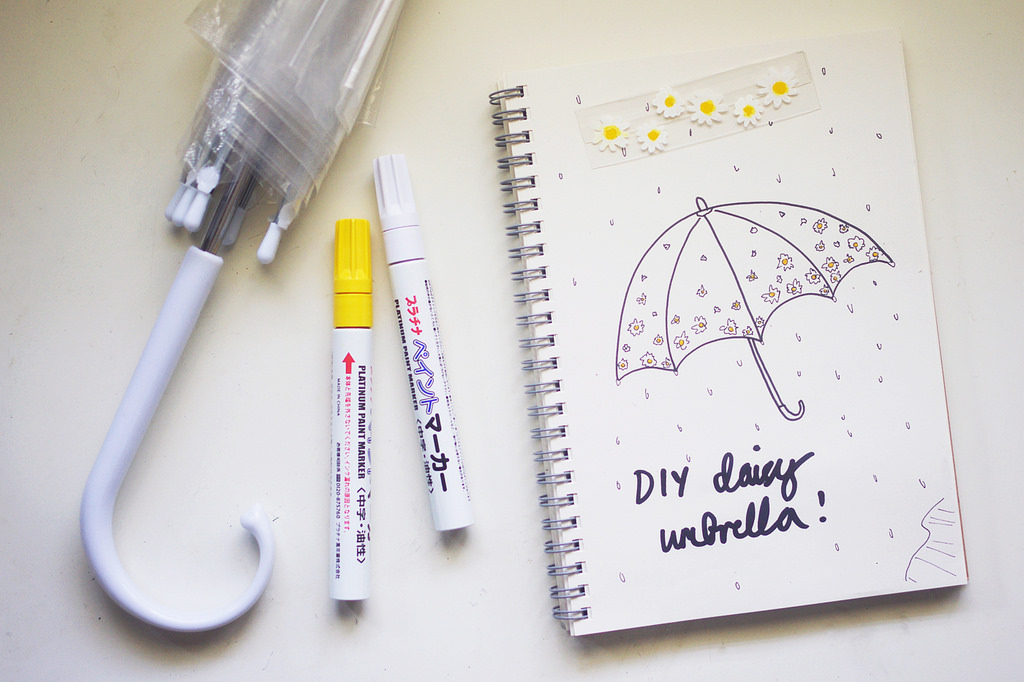
Everything I used is from Daiso. I’ve just discovered their paint markers and they’re amazing, especially at only $2.80 a pop! They really do smell like paint, and come out super opaque. Be careful though, it takes a bit of shaking to get the ink running. If you’re not careful it can leak all over your freshly painted manicure, which I learnt that the hard way…

So I went for a daisy design, but there’s obviously no limit to what you can do. Just make sure you paint the inside of the umbrella, and layer your colours accordingly. I painted the yellow circles first so that it appears on top from the outside, then used white to paint the petals. Just make sure each layer dries to avoid the colours bleeding into each other. If it helps, draw a template to trace from so you can get a fairly consistent flower size throughout.

I probably could’ve painted the flowers all over, but decided to cluster them towards the edge for a gradual effect. Couldn’t be easier! Now I just have to wait for the perfect day to use it, which shouldn’t be too far off since it’s currently pouring down in Sydney. I’m already itching to start another project, so any ideas for my next umbrella design would be most welcome!

